3 keys to fall gardening success
aka what to plant, when to plant it, and how to keep things alive!
It’s officially September, which means school’s back in session, pumpkin spiced *everything* is plentiful (for better or worse), stores are overflowing with Halloween shenanigans, and (if you haven’t already) it’s time to plant your fall garden! Which is why I’m sharing my top 3 keys to a successful fall garden, with heaps of helpful resources.
(Psst! If you’re brand new to gardening/farming, I recommend you start with my comprehensive 4-Part Guide to Starting a Garden).
So if you want a bountiful fall garden, but you’re not sure where to start (or you just need a few extra pointers), I’ve got you covered… keep reading!
PS – there’s a lot more helpful gardening content coming to this newsletter in the weeks and months to come. But full disclosure, it takes a LOT of time and energy to create these guides, so most of the posts will be available only to paid subscribers, which allows me to continue doing this work (which I love)! To make sure you receive all the growing (and cooking) goodness, consider upgrading your subscription.
#1: KNOW WHAT TO PLANT (and whether to use seeds vs. seedlings)
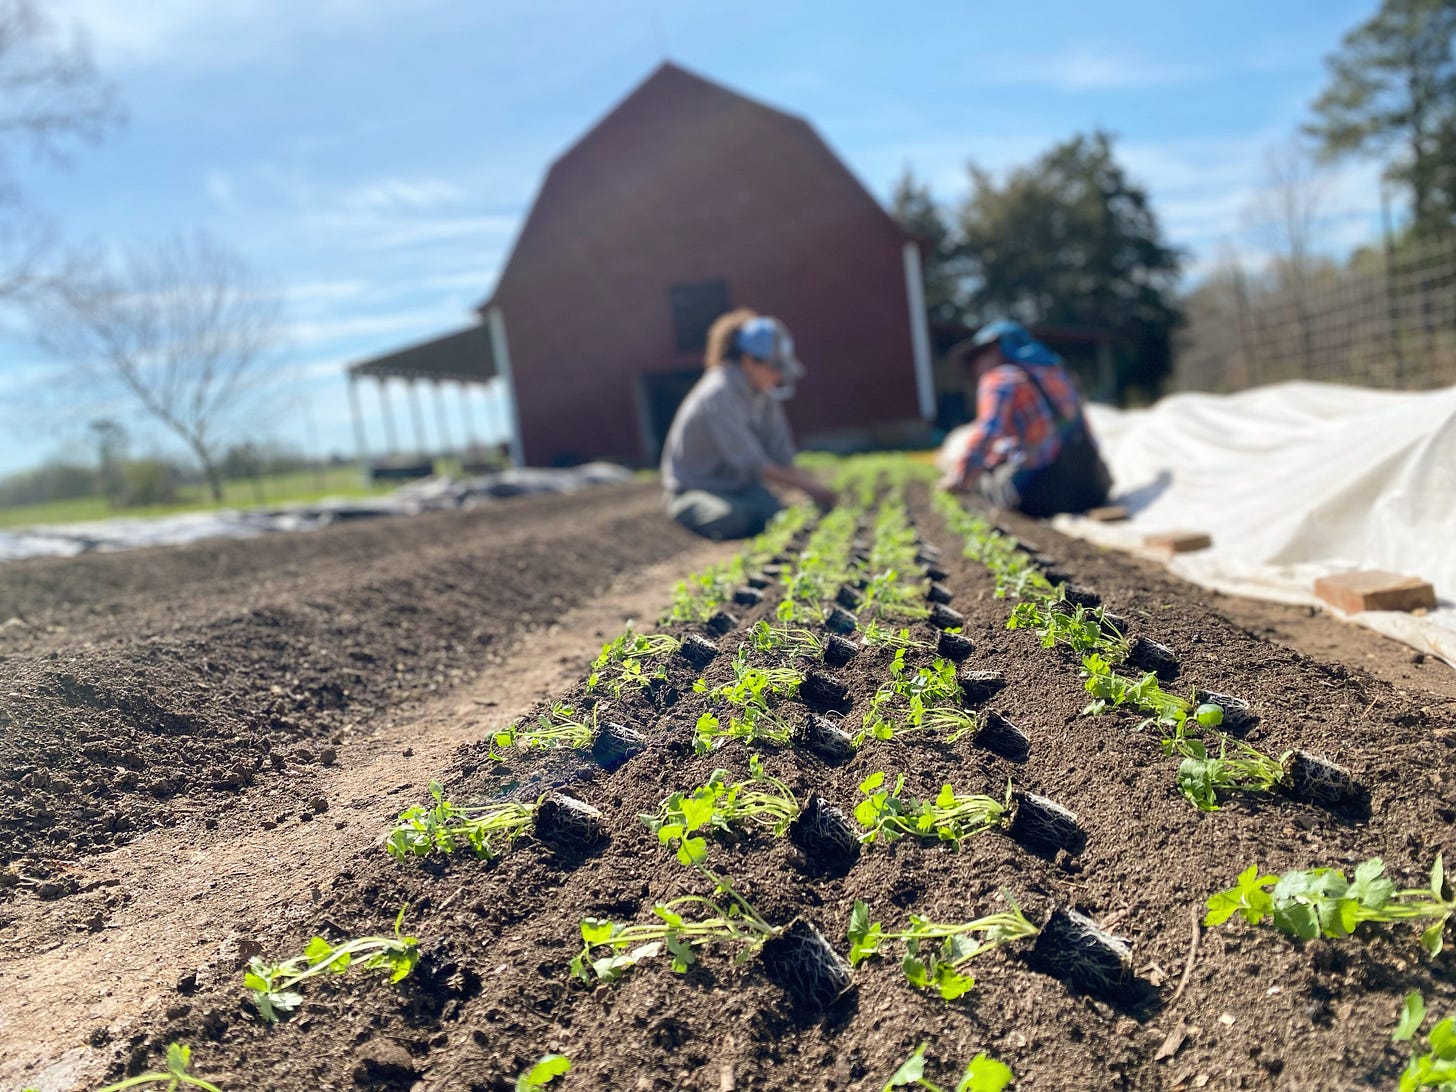
First things first… what crops are best for fall? Should they be planted directly in the ground as seeds or transplanted as seedlings? All good questions!
Keep in mind that every climate is different, but below is an A to Z list of crops that *generally* do well in the fall, including info on whether it’s recommended to plant directly as seeds or transplant as seedlings:
Arugula – directly seed
Beets – directly seed (though it is possible to transplant seedlings)
Broccoli – transplant seedling
Cabbage – transplant seedling
Carrots – directly seed (I recommend getting pelleted seeds for easier planting)
Cauliflower – transplant seedling
Collard Greens – transplant seedling
Fennel – transplant seedling
Herbs – transplant seedling (good herbs for fall = cilantro, dill, parsley, thyme, rosemary, sage)
Kale (baby/looseleaf) – directly seed
Kale (full size) – transplant seedling
Lettuce (looseleaf) – directly seed
Lettuce (heads) – transplant seedling
Kohlrabi – transplant seedling
Radishes – directly seed
Scallions – transplant seedling
Spinach – directly seed
Swiss Chard – transplant seedling
Turnips – directly seed
#2: TIMING IS EVERYTHING
Once you know WHAT to plant, you need to know WHEN to plant it. To get your timing right for fall growing, first find out your area’s average first fall frost date (here’s a frost date calculator based on zip code).
Because many crops will be killed by frosty temps, you need to know your (average) first frost date so you can get tender plants in the ground in time to be harvested BEFORE frosty temps arrive. As a rule of thumb, here in central NC (zone 7b) I aim to plant all of our fall crops starting in late August through the month of September.
To figure out your fall planting timing, here’s what to do:
Find your area’s average first fall frost date.
Find the # of days to harvest/maturity for each fall garden vegetable you want to grow. Days to harvest/maturity info should be on your seed packet and/or in your seed catalogues. And HERE is a guide with days to maturity + harvest notes for various vegetables.
Use the # of days to harvest to count back from the first frost date, which will determine the LATEST that you can plant that specific crop. A note that you may want to add 7-10 days to the # of days to harvest, as many veggies grow more slowly as days get shorter in the fall.
FOR EXAMPLE: If your first fall frost occurs around October 31 and you want to grow radishes, which go from seeding to maturity in about 24 days, you can plant them outside up until October 1st (thats 24 days to maturity + an extra 7 days to account for shorter days = 31 days). And while Oct 1st would be the *latest* you would ideally plant radishes in this example, it’s recommended to seed them earlier to ensure you get a nice harvest window (and to have a buffer in case you have an earlier than expected first frost).
*A few additional notes about timing for fall planting:
For growing Zones 8-10, where frost is rarely an issue, you can often plant fall vegetable crops as late as December!
There are plenty of crops that can handle light/moderate frosts – anything in the brassica family (kale, collards, broccoli, cabbage, cauliflower) is especially tough and can actually taste sweeter after a frost.
In colder climates, you can extend your harvest window by using frost cover to protect tender crops from frost, and/or by growing inside caterpillar tunnels.
The classification of freeze temperatures is based on their effect on plants:
Light freeze: 29° to 32°F (-1.7° to 0°C) – tender plants are killed.
Moderate freeze: 25° to 28°F (-3.9° to -2.2°C) – widely destructive to most vegetation.
Hard freeze: 24°F (-4.4°C) and colder – heavy damage to most garden plants.
#3: BOOST YOUR SOIL HEALTH
When your soil is healthy and balanced, your plants will have a strong foundation to thrive and will be less susceptible to pests, viruses, inclement weather, etc. Especially if you’ve been growing crops all spring/summer in your garden, then your soil will be lower in essential nutrients, so you need to “feed” the soil so it can feed your fall plants!
(PS – if you’re *starting a garden from scratch* this fall – whether in pots, raised beds, or directly in the ground – first head over to my lesson all about Soil Health to get the low-down on how to ensure your garden has healthy, nourishing soil from the start).
Here are a few tips for ensuring your soil + plants thrive this fall:
Compost is key.
As a rule of thumb, I add a 1-2” layer of good quality compost to my beds EVERY TIME I plant a new crop. If you’re not sure where to source good compost, call up your local garden store and see what they recommend. High quality compost usually isn’t cheap, but it provides a foundation of fertility for your crops, so it’s worth the investment.
Loosen up.
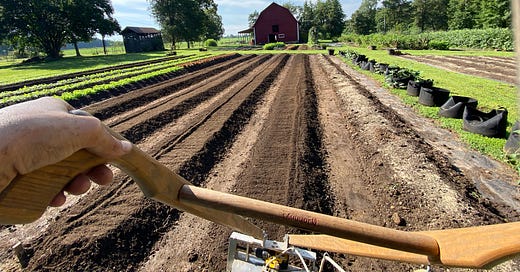
After adding fresh compost to the top of your bed, use a pitchfork (or for bigger market gardens, use a broadfork) to loosen the soil AND to help work in the new compost. If using a pitchfork, press the fork into the soil as deeply as possible, then give the fork a good twist (which both aerates the soil and helps incorporate the compost). Finish your bed prep by creating a nice smooth bed by using your hands to break up any clods and smoothing out the soil, or for larger gardens you can do this using a rake or a tilther.
Fish emulsion is your friend.
Be warned, fish emulsion is SMELLY, but it’s also one of the best ways to organically boost essential nutrient uptake for your crops. Fish emulsion is basically a concentrated solution made from fish meal and seaweed, and when diluted in water and sprayed directly on your crops, it gently provides the nutrients that your plants need to thrive. For smaller gardens, you can certainly dilute fish emulsion in a watering can, though the best way to apply (especially for larger areas) is with a simple sprayer. I recommend applying fish emulsion every other week, and the best time to apply is either in the morning or at dusk. PS – there are lots of brands out there, but this is my favorite fish emulsion.
Whew, congrats if you’ve made it this far! Hopefully this guide has been helpful for anyone needing a little encouragement to get growing this fall. I love helping troubleshoot with your garden/farm adventures, so if you have any follow-up questions please let me know in the comments.


