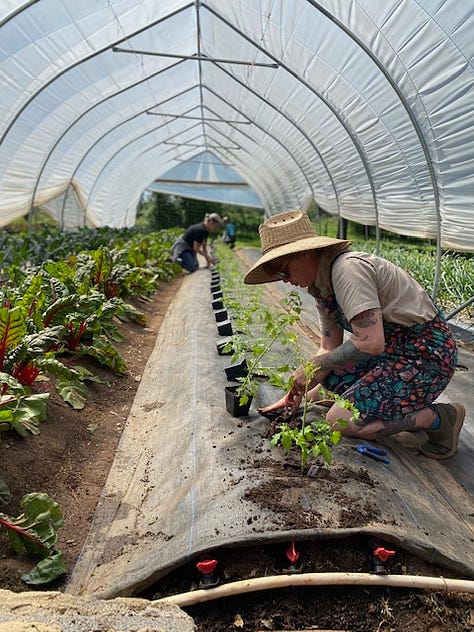
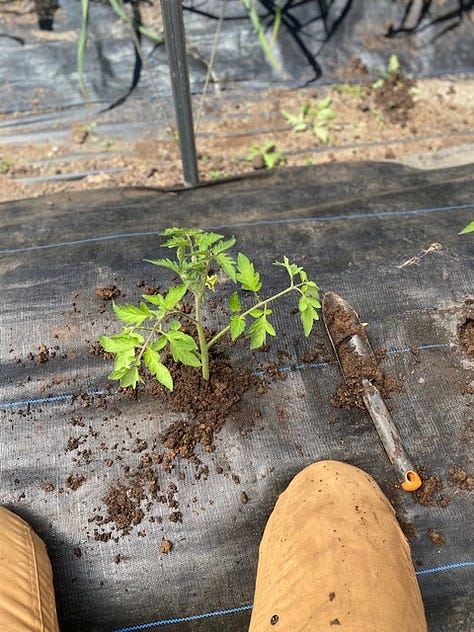
And just like that… our summer tomatoes are (mostly) in the ground! Every year we grow 4 different types of tomatoes – cherries, classic slicers, heirlooms, and paste/romas. And within those 4 main types, this year we’re growing 12 different varieties, with whimsical names like Gin Fizz, Plum Regal, Blush, and Marbonne… (and other varieties with waaay less fun names like BHN-589).


Planting tomatoes is equal parts exciting and anxiety inducing for me… of course I *cannot wait* until that first juicy, warm tomato & mayo sandwich, but it’s also a lot of pressure to have a good tomato crop each season. Tomatoes are notoriously susceptible to different fungal/viral diseases, and the wrong fungus can take out an entire field of tomatoes in a blink. Which is why I very intentionally select varieties that have stronger natural defenses against disease, and we carefully prune, tend, and irrigate these little babes as they grow big and strong and eventually tower over our heads, jam-packed with gorgeous ripe fruit.
*A note that the reason we’re able to plant tomatoes this early is because we plant them in our caterpillar tunnels, which we can close up anytime the temps get low, so the tomatoes stay nice and toasty. If you’re planting tomatoes outside, make sure to wait until the threat of frost is totally gone!
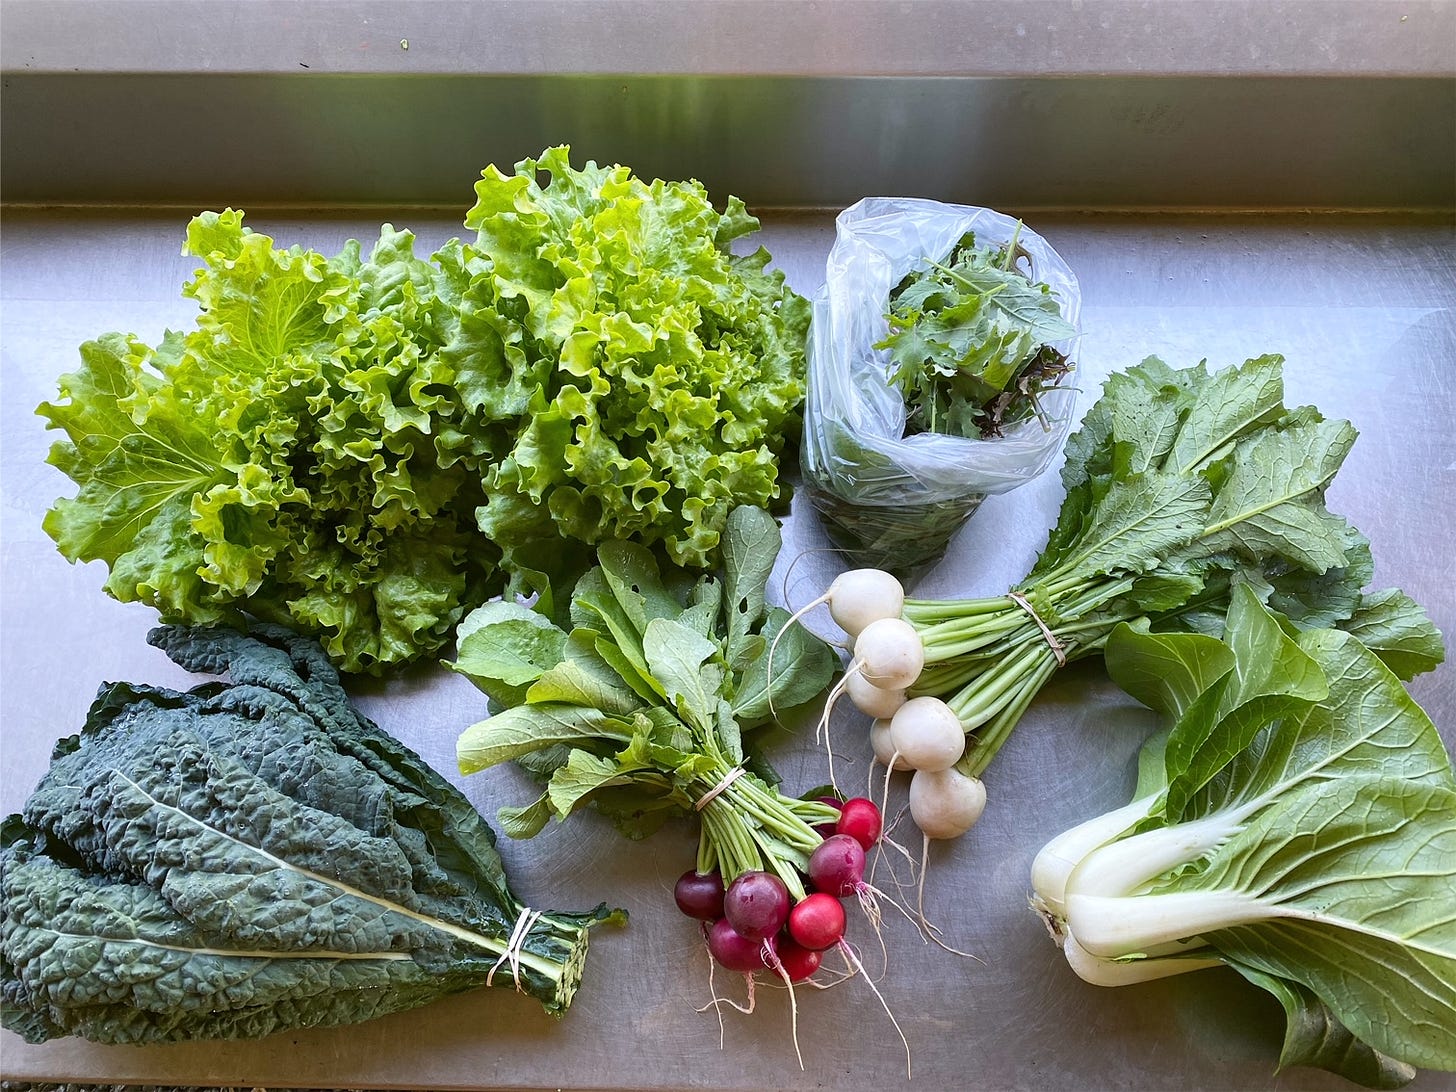
It’s wild how quickly this season has already whizzed by, and I’m having to remind myself to slow down long enough to appreciate (and actually make time to cook and eat) all the spring goodness that’s coming out of our fields before summer is here. So this week has been filled with LOTS the giant green salads topped with thinly sliced radishes and turnips, swiss chard scrambles, and heaps of zesty arugula pesto.
This weekend I’m leading a fun (sold out!) hands-on workshop here at the farm, and I’m stoked to kick off our first culinary workshop of the season. During the class, I’ll lead a full tour of the farm, and then folks will help harvest some veggies and herbs that we’ll use to whip up some fresh and fabulous spring dishes to enjoy together. For local friends, there are just a handful of spots left in the rest of my classes this spring/early summer, which you can peruse over on my website.
Alright, alright, alright… time to get cooking! Keep scrolling to master the (super simple) method for Quick Pickles 101.
I absolutely, positively hate wasting fresh produce, especially when it’s veggies that I worked hard to grow. My solution for dealing with all the bits and bobs of veggies hanging around? QUICK PICKLES.
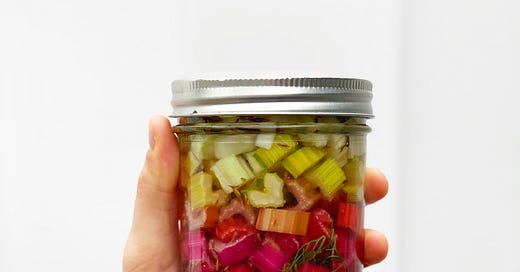
Quick pickles (also known as refrigerator pickles) are basically just veggies (and/or fruit) packed in a jar with an acidic brine and stored in your fridge, which drastically (and deliciously) extends the life of your produce for a month or more. Quick pickles are the ultimate choose-your-own-adventure culinary undertaking, as they are endlessly adaptable and you can really use whatever veggies / fruit / spices / aromatics that you have on hand. PLUS you totally can (and should!) pickle parts of vegetables that usually get tossed, like the colorful stems of swiss chard (pictured below), broccoli stalks, etc etc.
As you’ll see in the recipe, a basic pickling brine consist of four basic ingredients: VINEGAR for acidity, WATER to cut the the acid, SUGAR to balance the acid, and SALT for flavor. There are lots of different brine ratios out there, but I find this one strikes *just* the right balance of acidity, salt, and sweetness.
So hopefully this will inspire you to get creative and use what you’ve got to whip up some pickles… that’s what eating like a farmer is all about!
See below for the full recipe, and you’ll also find a one-page PDF version for easy printing.
Quick Pickles 101
Makes 2 pints or 1 quart sized mason jar of quick pickles


