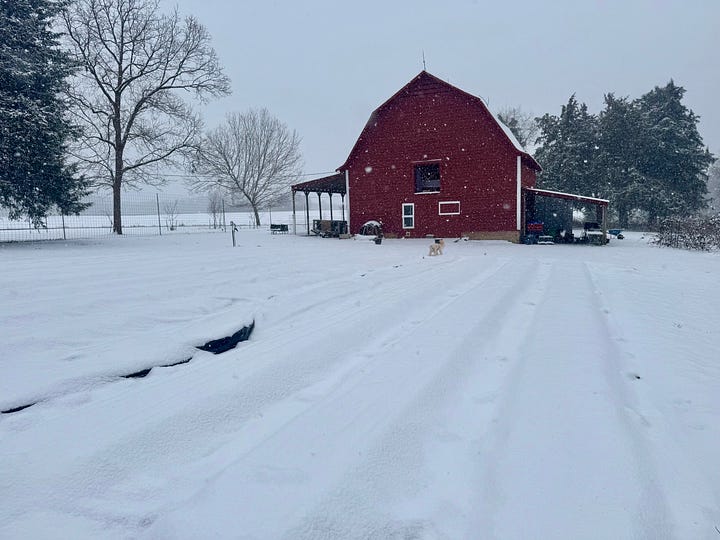
You know what they say… if you don’t like the weather, just wait 5 minutes! Or in this case, wait 24 hours… here are two pictures taken from the exact same spot on the farm, just one day apart:

Thankfully it felt like SPRING during our workday on Tuesday, and I got to spend a blissful, blue sky day in the dirt planting our first veggies of the 2025 season. I went to bed on Tuesday night *physically exhausted* for the first time in many months, and it was GLORIOUS. As someone with a chronically over-anxious brain, physical work has always been my best antidote for anxiety. With every seed I plant and every shovel-full of compost that I spread across the garden beds, I can practically feel the stress melting off my shoulders. It’s a magical thing really.
These first few weeks of the growing season, the garden is like a clean slate with endless possibilities and no weeds or pests or weather disasters or crop failures… yet! Because inevitably, things will go wrong, and it’s my job as a farmer to tune more deeply into Mother Nature and learn from my mistakes, so I can do better next season.
In the spirit of embracing + sharing lessons learned over the years, here are my tips for growing sugar snap peas and carrots:
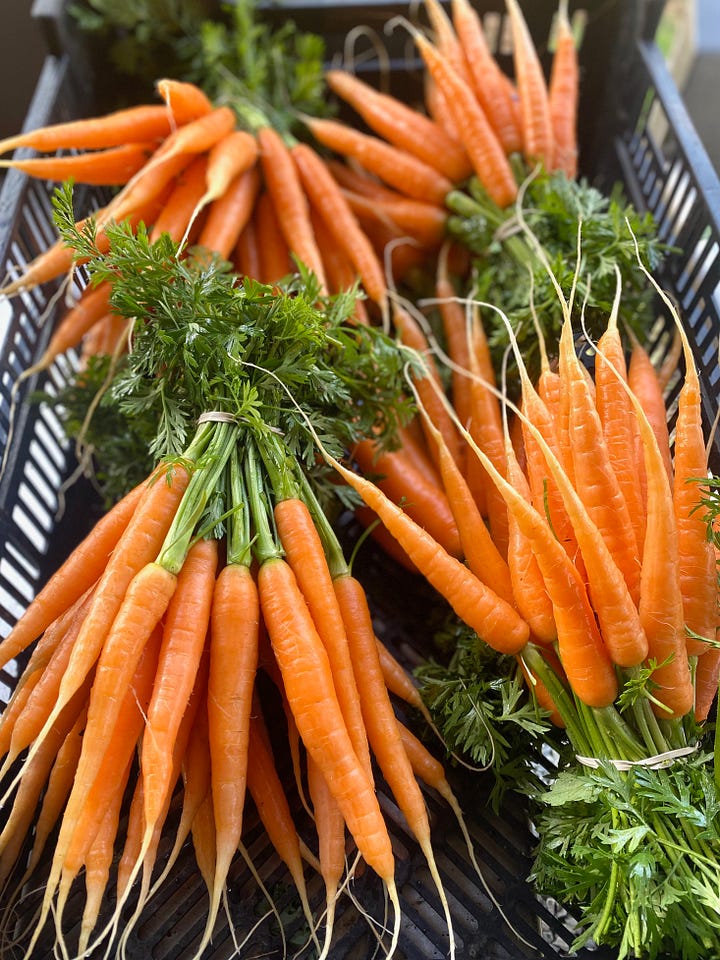
CARROTS
Carrot seeds are TINY, so I recommend purchasing pelleted seeds. Pelleted seeds are coated into little clay balls, making them much easier to see and handle. Because we’re growing on a larger scale, we plant our pelleted carrot seeds using a highly efficient Jang Seeder, but the pelleted seeds are super helpful even if you are planting by hand. Plant your carrot seeds in long furrows in your beds, spacing the seeds about 1/2” deep and 1” apart. We plant 4 rows of carrots across a 30” wide bed.
This spring, we planted three different varieties of carrots, which should be ready to harvest around mid-May: Caravel, Romance, and Gold Nugget.
Carrots need a lot of moisture to germinate, so make sure to keep your carrot beds well watered after seeding! And patience is key… carrots can take up to 14-21 days to germinate.
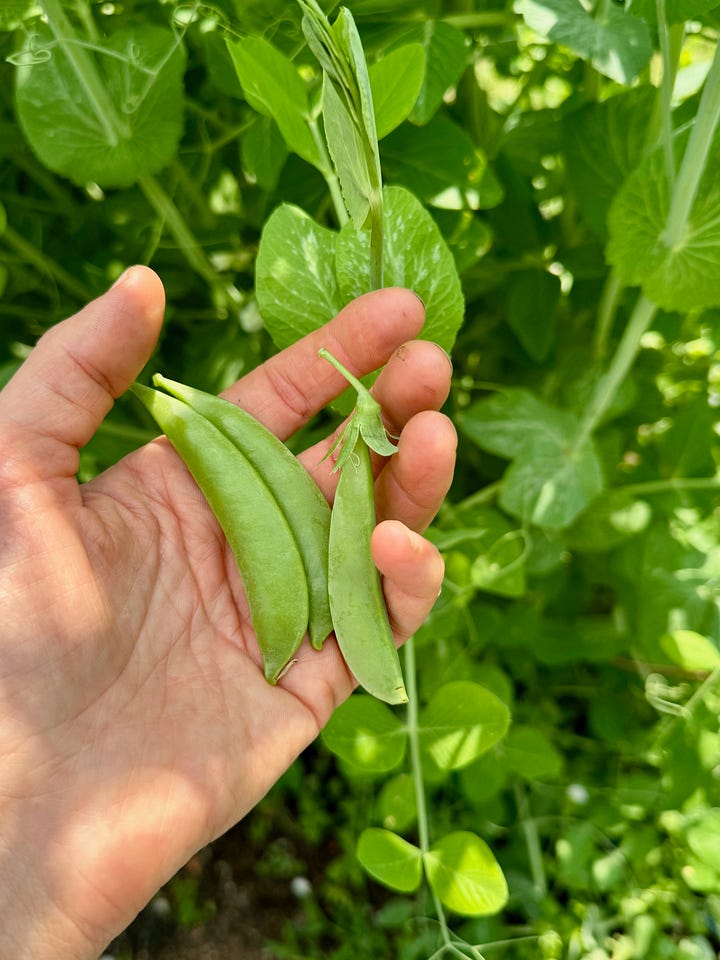
SUGAR SNAP PEAS
Most varieties of sugar snap peas get pretty tall, so you’ll want to install a trellis. We use 10 ft tall t-posts and pound them into the ground every 10 feet, then we tie up this trellis netting and attach it to the t-posts using zip ties. The trellis netting is 4-feet tall, so we tie up two layers, which allows the peas 8 feet of netting to climb up. (PS – this is the exact variety of peas we grow)
To aid with germination, soak your pea seeds in water for 4-6 hours before planting. Another step that isn’t required, but will help ensure that your peas fix nitrogen in your soil, is to coat the seeds with an inoculant just before planting. Inoculants are basically a powdered form of a beneficial bacteria, which encourages the formation of high-nitrogen nodules on plant roots to result in richer soil, healthier plants, and better yields. Here is a source from Johnny’s.
To plant your sugar snap peas, make two long furrows in your bed, with the furrows spaced about 6 inches apart (the space in the middle of the two furrows is where the trellis will go). In each furrow, plant the seeds by hand, about 2” apart. Once you’ve placed the seeds, just cover them back up with soil, water them in well, and let the magic happen.
Send your questions to the Help Line!
Got questions as you plan + plant your spring gardens? Send a message to the Eat Like a Farmer HELP LINE! Leave your gardening (and/or cooking) questions in the chat, and I’ll always personally answer within 24 hours. There’s no question too big or too small!
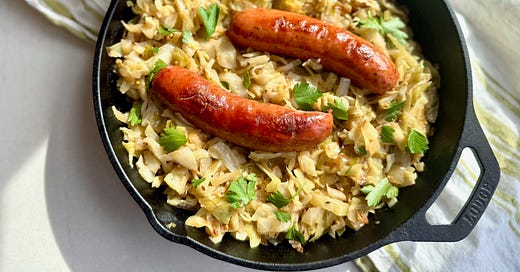
Okay, enough chit chat! Time to get cooking and dig into this week’s new recipe – one-pot buttered cabbage with sausage – available for paid subscribers.
Our oven has been out of commission all week, which means I’ve had to get extra creative using just our stove to cook. This week has also been – *ahem* – interesting because our 3-year-old was out of preschool most of the week (President’s Day holiday on Monday, followed by a fun case of pink eye, and then multiple snow days) – so I’ve had minimal time/energy to tackle anything complicated in the kitchen. Let’s just say that LESS IS MORE has been the vibe in our house this week.
Enter today’s recipe for one-pot buttered cabbage with sausage.
This dish is simple (like, 10 ingredients and ready in 30 minutes simple) but DANG it is so so good. You start by quickly browning some kielbasa sausage (or other pre-cooked sausage) in a pot or skillet, then use the same pot to caramelize shredded cabbage in a few tablespoons of butter until it all collapses into a luscious heap. And don’t forget a bit of dijon mustard, some whole mustard + caraway seeds, and a splash of apple cider vinegar for some lovely homemade sauerkraut vibes.
To round out the meal, I highly recommend pairing this with some creamy polenta (which is also super simple, fyi).
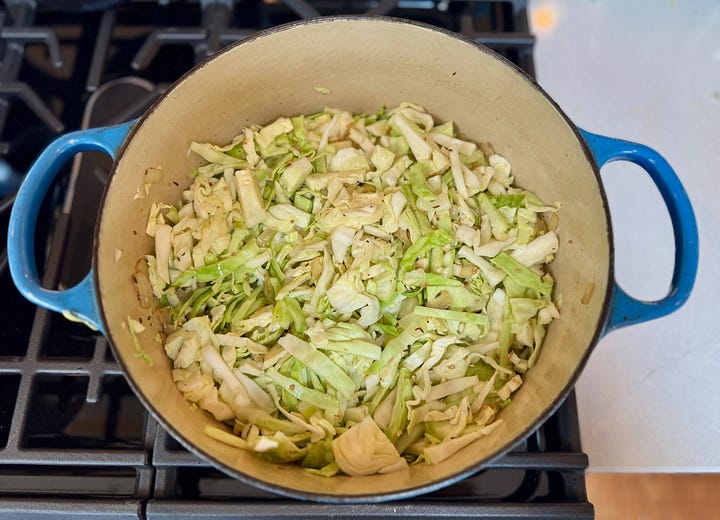

This is the kind of recipe that really epitomizes what it means to eat like a farmer. Take a humble winter cabbage, cook it simply and with care, and in about 30 minutes you’ve got a big pot of vegetable goodness on the table.
Happy cooking!
Keep reading for the full recipe (and a handy 1-page PDF for easy printing).
Become a paid subscriber to access today’s recipe (free subscribers get access to recipes on the 1st Friday of the month). As a paid subscriber, you’ll also get access to my full recipe archive, gardening guides, video tutorials, plus bonus content and join our private community chats.
One-Pot Butter Braised Cabbage with Sausage
Serves 4

